
Below is the list of materials and tools:
Tent Poles
Tarpaulin Sheet
Eyelets
Strips of Fabric
Bubble wrap
Needle and Thread
Scissors
Sewing Machine
Hammer
Block of wood
Paint and brushes
2, Cut to size the white tarpaulin sheet. This size had to be slightly bigger than I previously thought due to the bending of the poles. I also left approximately 10cm extra on each side to fold and machine sew. The actual finished size of the base is now 200cm x 200cm. I left enough space between the sewn line to place strips of fabric inside the tarpaulin for reinforcement of the eyelets.

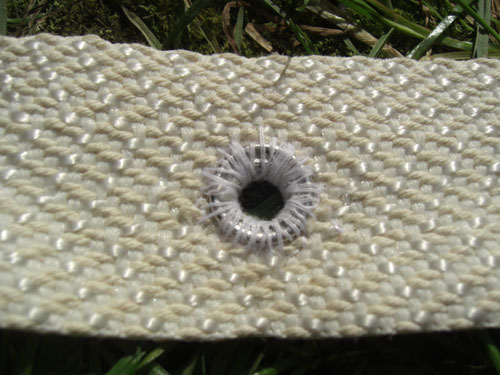
3, Cut four strips of fabric to size to fit between the sewn edge of the tarpaulin (see photo above). Pierce an eyelet through each fabric strip. To do this it's best to cut a very small hole in the fabric before placing the eyelet on top of the fabric. Then put on a block of wood to hammer the eyelet in place. The eyelet in the photo below has worked really well :-) Must admit I did have some failures.

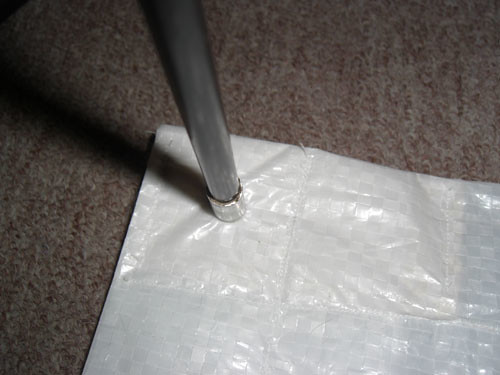
4, Since the eyelets and base of the dome are a vital component to holding up the poles and structure, I also reinforced the eyelets by sewing around each one:
5, Next I measured and placed each strip through the sewn area of the four corners of the tarpaulin, before then sewing each strip in place. I then pierced holes through each corner of the tarpaulin to directly line up with each eyelet below for the attachment of the poles.
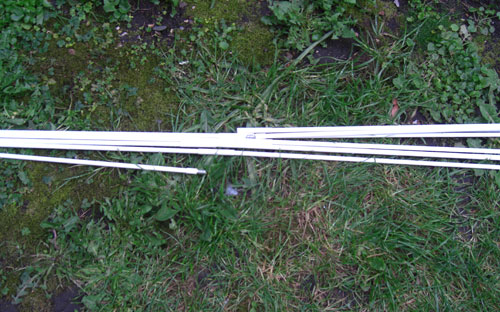
This makes a really secure and neat base, where the eyelets and fabric strips are hidden. In the photo below you can also see the last black pole before painting :-)
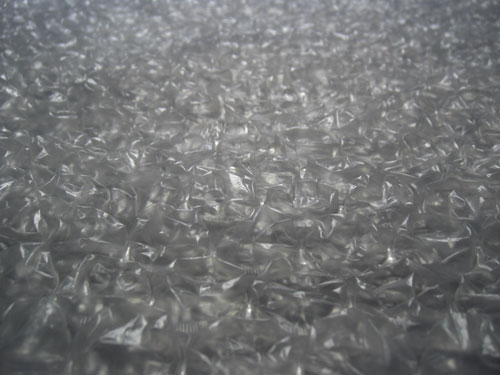
6, I then cut the large bubbled bubble wrap to size, and sewed three strips together to cover the base of the tarpaulin.
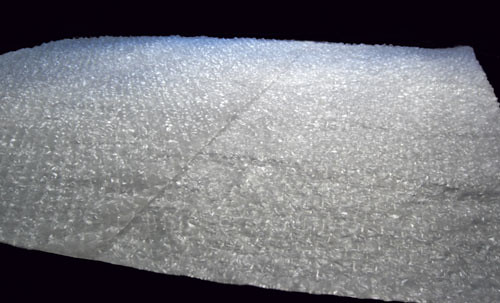
7, Finally I individually popped each air pocket of the bubble wrap floor, as I don't want this popping really loud when people walk on it. Though for some reason the pockets seem to refill with air slightly so subtle pops can still be heard while walking over :-) I'm not exactly sure about having this on the floor yet!
Unfortunately I have no photos of only the base and painted poles put together due to most of the poles not being dry at the time.
My next post will show my experiments with covering the dome :-)
No comments:
Post a Comment